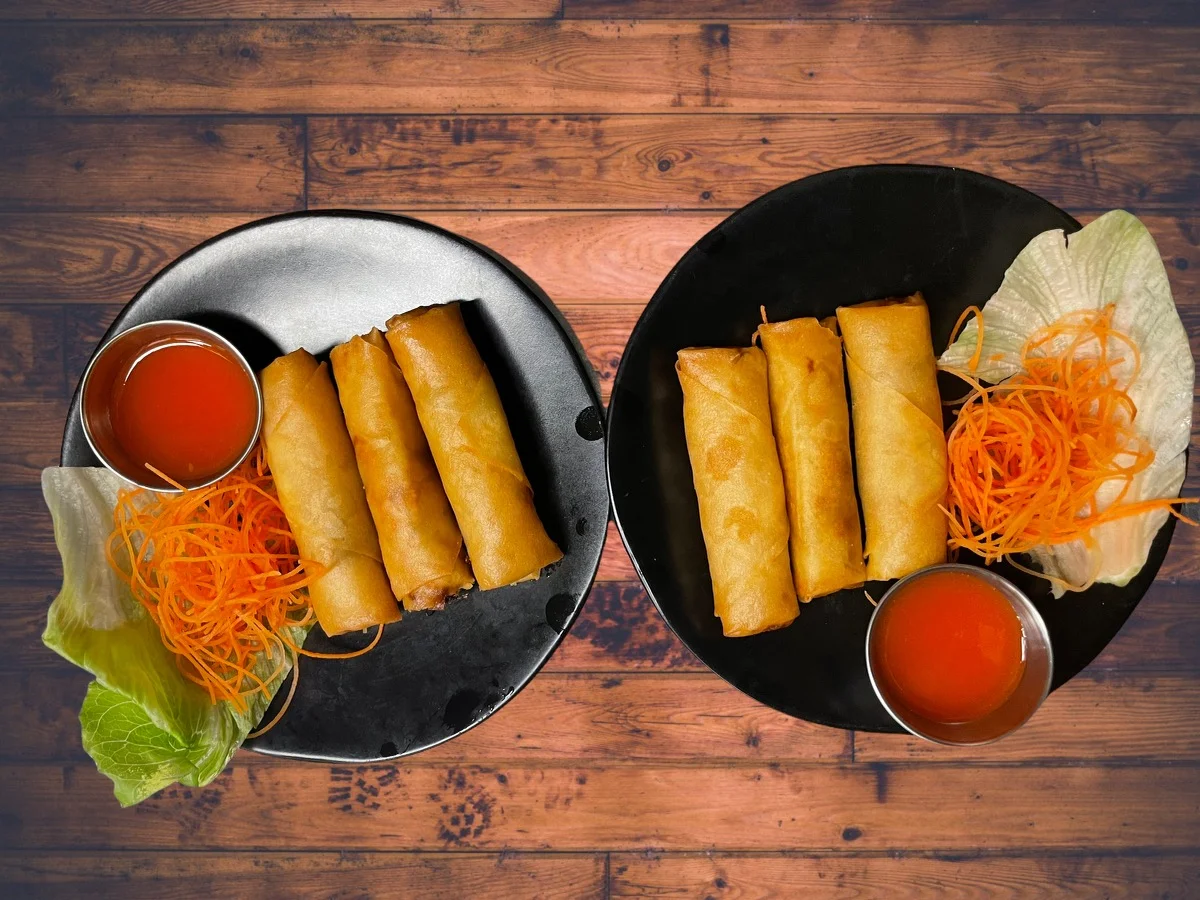
Crispy Non-Greasy Spring Rolls
The Secret of Non-Greasy Spring Rolls
From Pat Benjasakul & My 70-Year-Old Mama at EZ THAI
At EZ THAI, we sell over 1,000 spring rolls every single month. Over the course of a year, that adds up to more than 13,000 spring rolls.
I’m not sharing that number to brag.
I’m sharing it because numbers tell stories.
And that number tells me something very important — our customers truly love our spring rolls.
After 15 years in business, when people keep coming back for the same item again and again, you know it’s not luck. It’s consistency. It’s details. It’s care.
Today, I want to take you behind the scenes at EZ THAI and show you exactly how we make crispy, non-greasy Thai spring rolls — and the two secrets that most people get wrong.
And yes… my mama is part of this story.
Why Do Spring Rolls Turn Greasy?
Before we start, let’s talk about the problem.
If you’ve ever made spring rolls at home and wondered:
Why are my spring rolls greasy?
Why do they have dark spots inside?
Why does the wrapper look soggy instead of crispy?
You’re not alone.
Most people think it’s the oil. Or the wrapper. Or the frying time.
But the real reason is almost always moisture and air inside the roll.
Let me show you how to fix that.
Ingredients for Crispy, Non-Greasy Thai Spring Rolls
The beauty of Thai spring rolls is that they are simple. No complicated ingredients. Just fresh vegetables and balanced seasoning.
Here’s what you’ll need.
Fresh Vegetables (The Heart of the Filling)
1 medium head of fresh green cabbage, thinly hand-sliced
2–3 fresh carrots, peeled into thin strips
½ cup sweet corn (optional, for natural sweetness)
½ cup shredded taro (optional, my personal favorite for subtle sweetness)
At EZ THAI, we cut our cabbage by hand. Not machine. Not pre-packaged. Fresh cabbage gives better texture and releases water more naturally — which is important when making non-greasy spring rolls.
When I make them at home, I sometimes add sweet corn or shredded taro. You don’t need to add sugar. The vegetables already bring natural sweetness.
Seasoning (Simple and Authentic)
1–2 teaspoons sesame oil
1–2 tablespoons Golden Mountain seasoning sauce
½ teaspoon black pepper
A pinch of salt
If you have allergies or prefer simple flavors, black pepper and salt alone will still work beautifully.
Spring rolls should taste clean and balanced — not heavy or over-seasoned.
Wrapping & Frying
Spring roll wrappers (any good-quality brand that peels easily)
Vegetable oil for frying
Oil thermometer (recommended)
The ideal frying temperature is 325°F.
Preparation: The Step Most People Skip
Once your vegetables are sliced and mixed with seasoning, don’t rush.
This is where Secret #1 begins.
Secret #1: Remove the Moisture
My mama has been making spring rolls with us since the very first day we opened EZ THAI. We are now 15 years in business, and she still stands in the kitchen with us.
Every single time we prepare the filling, she reminds us — sometimes loudly — to press the vegetables.
She says, “Get the water out!”
After mixing the cabbage and carrots with seasoning, place something heavy on top. A gallon of water works perfectly. Make sure the vegetables are fully covered and evenly pressed.
Leave it for 15–30 minutes.
When you lift the weight, you will be surprised how much water collects at the bottom.
This step is the reason our spring rolls are not greasy.
If you leave too much moisture inside the filling, that water reacts with hot oil. That’s when you see dark spots. That’s when the wrapper turns soggy. That’s when oil gets absorbed.
Moisture is the enemy of crispy spring rolls.
Pressing the vegetables is the foundation of a non-greasy spring roll recipe.
Secret #2: Wrap It Tight
Once the filling is drained and ready, the next mistake most people make is wrapping loosely.
The wrapper you use matters, but technique matters more.
When you roll your spring roll, it should feel tight in your hands. There should be no air pockets inside. No loose spaces. No gaps.
Why?
Because air creates room for oil to enter during frying.
If oil gets inside the roll, it becomes greasy.
A tight wrap keeps the filling secure and prevents oil from soaking in. It also helps the spring roll hold its shape while frying.
Take your time with this step. It makes a difference.
The Perfect Frying Temperature
Heat your oil to 325°F.
If the oil is too hot, the outside will burn before the inside cooks.
If the oil is too cool, the wrapper absorbs excess oil.
At 325°F, fry the spring rolls for about 3–5 minutes, or until golden brown.
This temperature gives you:
Crispy wrapper
Light texture
Even color
No greasy finish
Temperature control is the final step in making crispy Thai spring rolls that taste like restaurant quality.
Small Details Create Big Results
Great spring rolls are not about fancy ingredients.
They are about:
Fresh vegetables
Removing moisture
Tight wrapping
Correct oil temperature
These small details, repeated consistently over 15 years, are why we’ve served more than 13,000 spring rolls in a single year.
Sometimes I joke that we should rename them “Mama’s Spring Rolls.” After all, she still checks every batch. She still reminds us not to rush. She still takes pride in every roll that leaves the kitchen.
And honestly, that pride is the real secret ingredient.
Want the Printable Step-by-Step Guide?
If you’d like a downloadable version of this complete non-greasy spring rolls recipe — including measurements and preparation checklist — enter your email below and I’ll send it directly to you.
ezthai@ezthairestaurant.net
If you try this recipe at home, I would love to hear from you.
Visit www.ezthairestaurant.net
and click “Contact Us.” I personally read every message — and I will share your feedback with my mama.
You will make a 70-year-old Thai lady smile all day.
And that means everything to me.
—
Pat Benjasakul
EZ THAI Restaurant
Fast. Fresh. Flavorful.